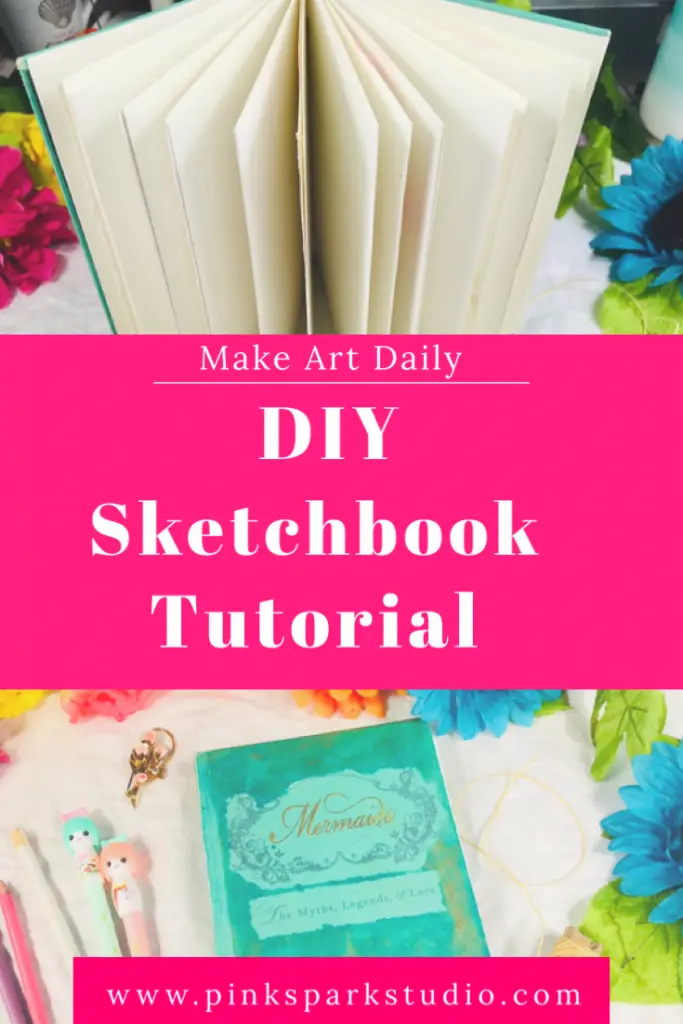
Diy Sketchbook Cover Easy
Diy Sketchbook Cover Easy
This post contains affiliate links. We may earn money or products contained in this post. Please click my disclosure policy to learn more.
How to Make Your Own Sketchbook
I love making my own sketchbooks. It makes creating art a bit more magical because my creativity went into creating the sketchbook I'm creating in. Does that make sense? The more involved you are with all areas if your art, the more your art begins to bloom.
Also, making your own DIY sketchbook means you can control what type of paper goes into it, how big it is, and how it looks on the outside.
DIY sketchbooks don't have to be just for sketching, either. Since you control the paper that goes in, you can control what type of art supplies you can use. I often use my DIY sketchbooks as watercolor journals. The sketchbook is light enough to pack in my purse and take around town I can quickly make my sketches and then paint them in when I have time.
I have bought oh so many sketchbooks and other it has the wrong paper or it's the wrong size. Since I've been making my own I always have what I need.
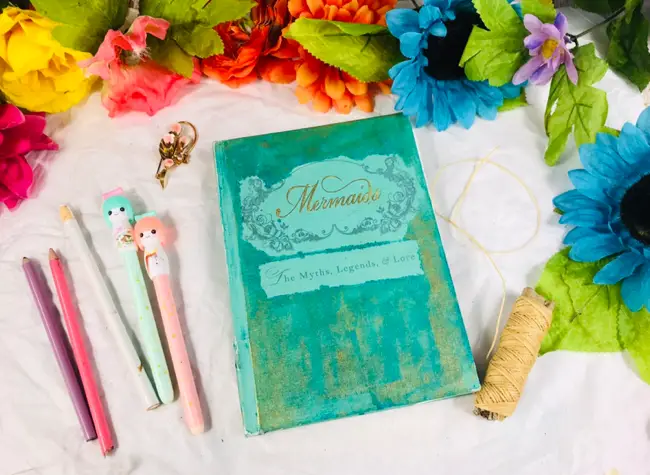
I'm using an old book cover for my DIY sketchbook for a couple of reasons. One, I love books and have a ton of them. But, some of them I'm not going to read anymore. By using the cover I get the magical feeling of the book and how it made me feel, plus I can use it for my art. It's happy vibes all around.
Turning an old book into a watercolor journal/sketchbook is easier than it might seem. It's a fun activity that gives you a truly unique journal to paint in and bring with you wherever you go.
Why you should make your own DIY watercolor journal/sketchbook
Some people ask why make a DIY watercolor journal/sketchbook when you can just buy one? What we as adults even young adults, can forget is that creativity has benefits that enrich or life and our well-being. If your regular job is not in a creative field you may not have a lot of opportunities for creative expression. Obviously you to be creative, you're reading this.
The psychology site Lifelabs states that creativity benefits us by relieving stress, boosting our confidence, and helps our problem solving skills among other things. Being creative boosts our mood and helps us think in a more creative outside the box manner.
When our creativity has no outlet we can also suffer negative benefits. Samuel Leanne notes in the Medium that pent-up creativity can result in rage, grief, sorrow, and shame. Yuck!
So, now let's look at the benefits of creating your own DIY sketchbook.
- You have the pride of the accomplishment of making your very own watercolor journal.
- You learn a new skill that can benefit you in other ways.
- You can design the size and shape of your paper to fit your personality and painting style.
- You are recycling something old that may be discarded into a new treasure.
- Watercolor journals/sketchbooks are great for taking around town and painting in. Everyone should have a travel journal.
- You'll boost your creativity and soon become addicted to creating more art turning into a vibrant creative genius that the world needs.
What type of paper to use
Now, that you are sold on the idea of making your own watercolor journal or DIY sketchbook let's look at some factors you'll need to take into consideration.
Choosing the right paper is one of the most important steps. What type of art supply do you want to use for your handmade sketchbook? Are you going to use a lot of pencils? Or will be be painting on it?
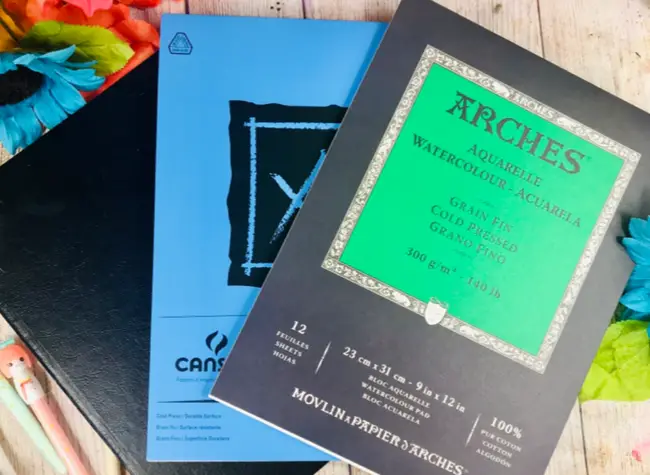
Mixed media paper works well for all supplies. It's a nice sturdy paper. You can leave your options open for an array of art supplies by using this paper.
If you are addicted to watercolor like me and want to make a DIY watercolor journal, then here is some helpful things to keep in mind.
Choosing not the right watercolor paper depends on your painting preference, the quality of paper you want to use, and your budget.
Watercolor paper comes in different forms. There is what I'll call student grade. It is made from pulp, is usually pretty cheap, and accepts paint differently than professional paper. It's not that it's bad paper. I use this paper all the time. It's just not professional grade.

I use Canson watercolor paper for practice or for art journaling when I'll be using mixed media tools. The water stays on the page a little longer and colors are just a tad bit duller than on professional paper.
Professional watercolor paper
Professional watercolor paper is made from 100% cotton. This paper does not fight against you when you paint on it. It takes color beautifully and can handle a lot of water. There are different levels of artist grade watercolor paper: 140p, 300p, 400p.
For the purpose of making a watercolor journal I'd recommend going with 140p paper. The other paper will be thicker and can be a little harder to work with in a journal. Though, you can go for it if you want.
Watercolor paper texture
Watercolor paper comes in three different textures, cold pressed, hot pressed, and rough.

Arches Cold pressed Watercolor Pape r will have texture to it.

Arches Hot Pressed Watercolor Paper is smooth and works really well with art journaling and using mixed media art supplies.

Arches Watercolor Paper Rough will have lots of texture.
What paper you choose will depend on your style and preference. You can also mix the types of paper you have so you can play around and experiment with all paper types.
Choosing your book to turn into a sketchbook
Choosing your book to alter is the fun. There are a ton of options when choosing the right book to turn into a DIY handmade sketchbook
I'll tell you a secret, sometimes I take the covers of my favorite book, even if the book is not damaged. I then make a new cover for my favorite book and turn the cover into a sketchbook. Art is about thinking creatively and having the freedom to be weird.
Here are a couple of things to take into account when choosing a book:
- Make sure it's a hardcover
- Condition of the book
- Make sure the book is sewn and not glued to the spine.
- Size
You could take a softcover off and use it to create a journal. However, that would be a much different process. I'll probably make a tutorial for the curious, soon. If you're really serious about this tutorial feel free to e-mail me or pop on ever top my Facebook Group and let me know, there.
You can choose standard novel size books, or, find children's hardcover books. If you choose a child's hardcover you'll need to choose paper that will fit when folded in half.
You need a book with a sewn binding so you can take out the book guts. If the book is glued to the spine you won't be able to remove the book guys without damaging the spine.
![]()
If you found this tutorial helpful please buy me a virtual coffee and help support my blog.
How to Make your own Sketchbook or Watercolor Journal
Here is a list of supplies I used for making this tutorial:
- Old Book Cover
- Masking Tape
- Watercolor Paper
- Book Binding Thread, Awl, Bone Folder
- Mod Podge
- Sponge Brush
Feel free to improvise any supply you don't have on hand. Now, grab your supplies, a cup of coffee or tea and make your own sketchbook!
The first step will be getting th ebook cover ready to become a handmade sketchbook.
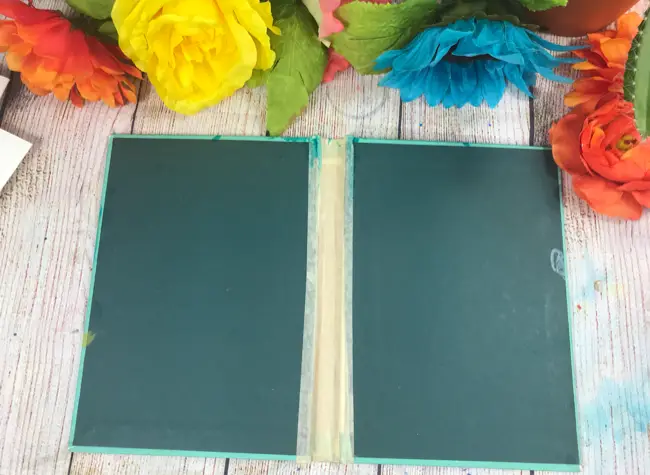
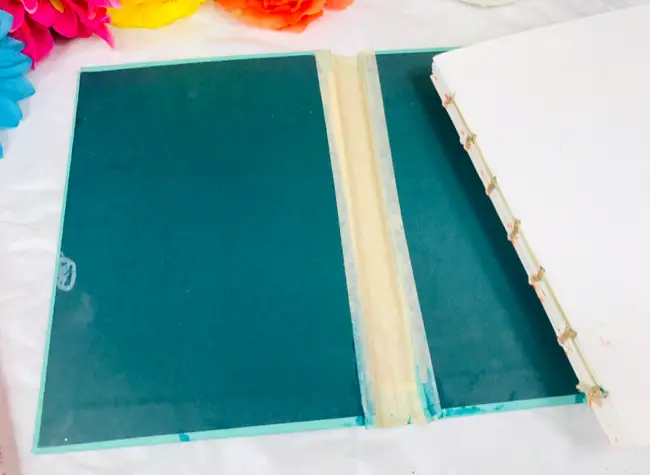
Reinforce spine of Your Handmade Sketchbook
There are several ways to repair and reinforce a spine. This is just the way I like to do it. I use things I most likely have around the house. Improvising is a creative activity that I truly love and I always find it gives beauty and unusual results.
For this book cover I used masking tape on then inside of the cover. I layered it several times. You could use masking tape, duct tape, or even glue some fabric to the spine. I would hesitate using wash tape as that tape can lose it's stickiness over time.
If you want to really reinforce the spine you can put a layer of Mod Podge over the tape.
Create Your Signatures
A signature is a group of pages that together with other signatures get sewn together to create a book. How many pages go into one signature vary depending on the book and paper type.
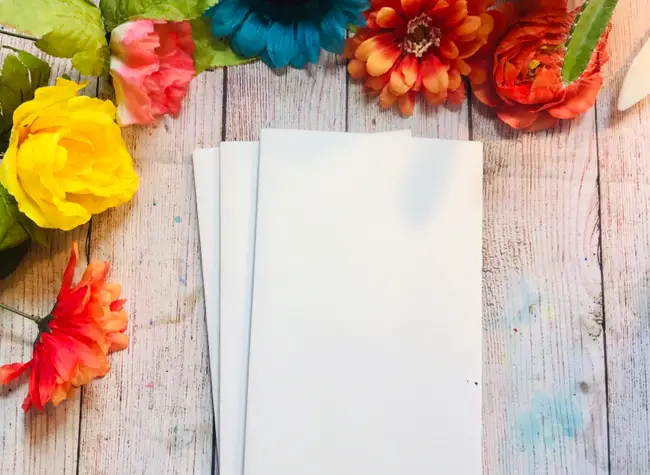
Watercolor paper is thicker than most paper, so I tend to have fewer sheets. When you add a folded sheet of paper into another folded sheet the paper can begin to stick out in the center. Getting sharp creases helps the signatures to fit smoothly inside each other.
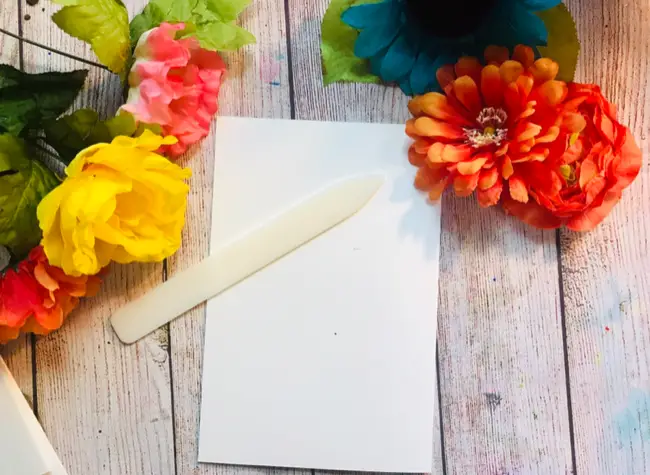
One tool I highly suggest is a bone folder. A bone folder is used to smooth the edge to get it tight and sharp. This gets those really great creases. I have tried improving other items such as a scissors or a ruler to get a smooth edge and they just don't work as well.
My bone folder is not made out of actual bone. The thought of using bone kinda creeped me out. So, I use a plastic one and it works just as well. I got my bone folder from this lovely little book binding kit .
Creating signatures step 1.)
First, take your paper, fold in half and smooth the edge with your bone folder.
Repeat until you have the desired amount of pages.
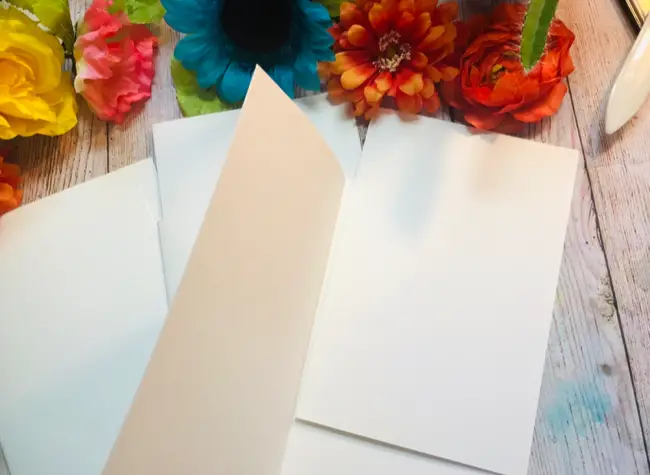
Step 2.)
Now, place one folded sheet into another folder sheet. With thick watercolor paper I usually only combine three sheets. You'll notice that the paper in the center sticks out from the rest. This is a common issue when creating your own journals and books.
You can choose to trim the edges so all your paper is the same size. Or, you can leave it. It's not that big of a deal.
How many signatures you create is completely up to you.
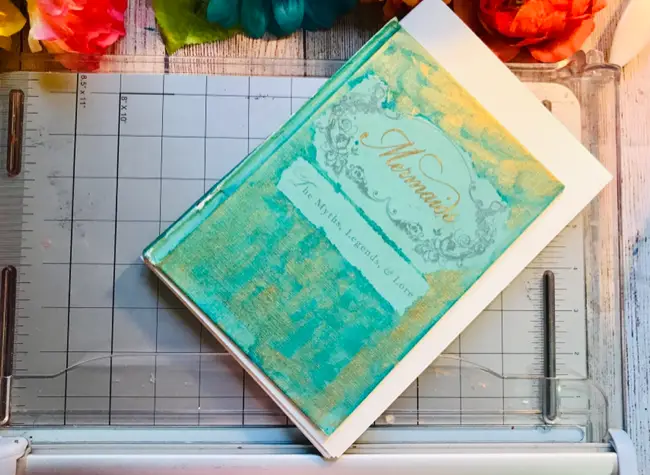
Step 3.) Trim Your Paper
Now, it's time to trim your paper so fits into your cover. I use a slide cutter to cut the edges of my paper. Scissors also work to do this. Use whatever you have on hand.
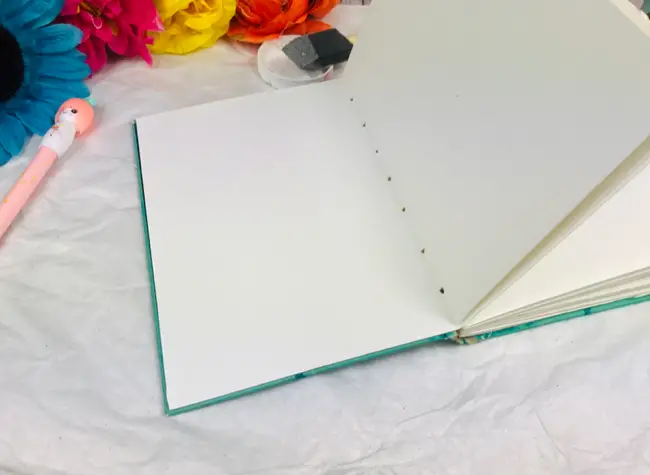
Step 4.) Sewing Your Signature
To sew my signatures together I use a kettle stitch. I learned from the video below.
Step 5.) Attaching Your Sketchbook Cover
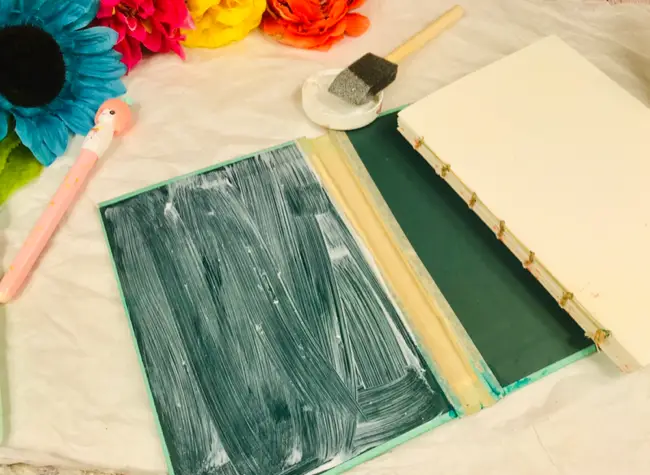
Now, you'll need some glue. I'm using Mod Podge and a sponge brush.
Brush the glue on the cover, align the first page of your signature, and glue down. Repeat on the other side.
Make sure you smooth down the paper with your bone folder to remove any air bubbles. I also stick some paper between the end page and the rest to absorb any moister until the glue is fully dried.
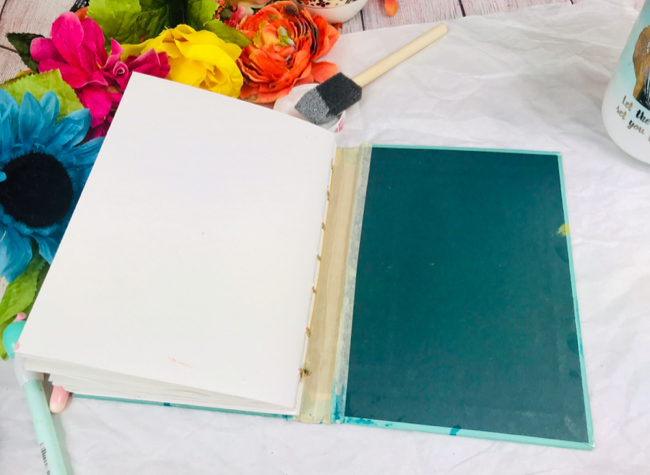
Finished DIY Sketchbook
Now, you should have a finished DIY Sketchbook that you can take around with you and paint wherever you are. Keeping a daily sketchbook drastically improves your art. I'd love to see your sketches. Please join me in my Facebook Group , share your art and ask any questions you may have.
![]()
If you found this tutorial helpful please buy me a coffee and help support my blog.
Source: https://www.pinksparkstudio.com/diy-sketchbook/


Leave a Comment